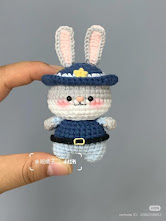
🐰 Crochet Judy - The Police Bunny
Looking for your next adorable crochet project? This tiny Judy - The Police Bunny is perfect for gifting, collecting, or showing off your amigurumi skills. Dressed in an official little uniform and detailed with a belt and hat, this bunny is full of charm. Whether you're a seasoned crocheter or new to amigurumi, this project is fun, fast, and incredibly cute!
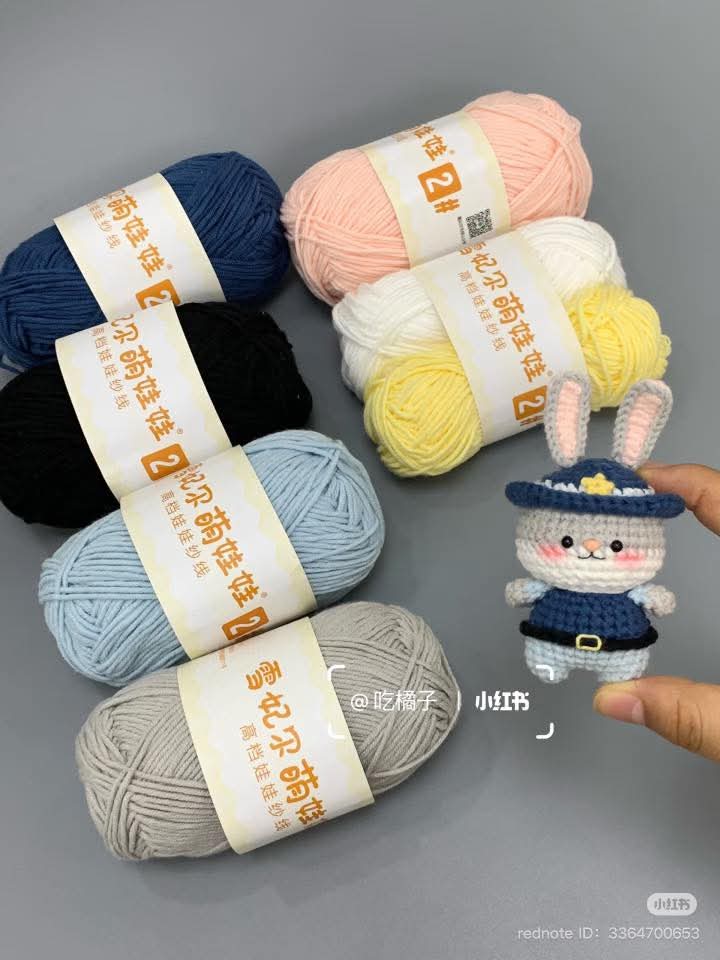
🧶 Materials
You'll need the following:
Cotton or acrylic yarn in:
Light grey (head, legs)
White (face)
Navy blue (shirt, hat)
Black (belt)
Yellow (hat star, buckle)
Pink (inner ears and blush)
2.0 mm or 2.5 mm crochet hook
Yarn needle
Stitch markers
Safety eyes (6 mm)
Stuffing (polyester fiberfill)
Scissors
Optional: blush or pink thread for cheeks
📘 Abbreviations (US Terms)
MR – Magic Ring
ch – Chain
sc – Single Crochet
inc – Increase (2 sc in the same stitch)
dec – Decrease (sc 2 stitches together)
sl st – Slip Stitch
FO – Fasten Off
FLO – Front Loop Only
BLO – Back Loop Only
(…) – Repeat instructions inside parentheses
[…] – Total stitch count
✨ Pattern
Head (light grey)
R1: MR, 6 sc [6]
R2: inc x6 [12]
R3: (sc, inc) x6 [18]
R4: (2 sc, inc) x6 [24]
R5: (3 sc, inc) x6 [30]
R6: (4 sc, inc) x6 [36]
R7–R13: sc around [36]
R14: (4 sc, dec) x6 [30]
R15: (3 sc, dec) x6 [24]
R16: (2 sc, dec) x6 [18]
R17: (sc, dec) x6 [12]
R18: dec x6 [6]
FO and close the hole. Stuff firmly.
Body (navy blue)
R1: MR, 6 sc [6]
R2: inc x6 [12]
R3: (sc, inc) x6 [18]
R4: (2 sc, inc) x6 [24]
R5: (3 sc, inc) x6 [30]
R6–R10: sc around [30]
R11: (3 sc, dec) x6 [24]
R12: (2 sc, dec) x6 [18]
R13: (sc, dec) x6 [12]
FO and stuff.
Legs (make 2 – light grey)
R1–R3: MR, 6 sc [6]
FO. Light stuffing optional.
Arms (make 2 – grey + blue sleeves)
R1: MR, 6 sc (use grey) [6]
R2–R3: sc in each st (use blue) [6]
FO and leave a tail to sew.
Ears (make 2 – grey with pink inner)
R1: MR, 6 sc [6]
R2: sc around [6]
R3: (sc, inc) x3 [9]
R4: sc around [9]
R5: (2 sc, inc) x3 [12]
R6: sc around [12]
R7: (3 sc, inc) x3 [15]
R8–R11: sc around [15]
R12: (3 sc, dec) x3 [12]
R13: sc around [12]
Flatten and FO. Do not stuff.
Hat (navy blue with yellow star)
R1: MR, 6 sc [6]
R2: inc x6 [12]
R3: (sc, inc) x6 [18]
R4: (2 sc, inc) x6 [24]
R5: sc around [24]
R6: FLO (3 sc, inc) x6 [30]
R7: BLO sc around [30]
R8: (4 sc, inc) x6 [36]
R9: sl st in each st around
FO and weave in ends.
Hat Star: Use yellow yarn or felt to create a small star and attach to the center of the hat.
Belt
With black yarn, ch 30
Wrap and sew or glue around the body, securing at the back.
For the buckle, embroider a small yellow rectangle.
Cheeks (Optional)
Use pink thread or blush to gently tint the cheeks.
🛠️ Assembly Instructions
Join Head to Body: Sew stuffed head onto body.
Attach Legs: Position evenly at the base and sew.
Add Arms: Stitch to each side of the upper body.
Sew Ears: Attach to top of head evenly spaced.
Hat Placement: Position on top of the head. Stitch or glue in place.
Eyes & Face: Insert safety eyes between R6 and R7 of the head, about 5 stitches apart. Embroider the nose with pink or black thread, add a smile if desired.
Secure Belt: Wrap the chain around the waist and stitch or glue it on. Add yellow buckle.
Use pins to place everything before sewing—it helps with symmetry and alignment.

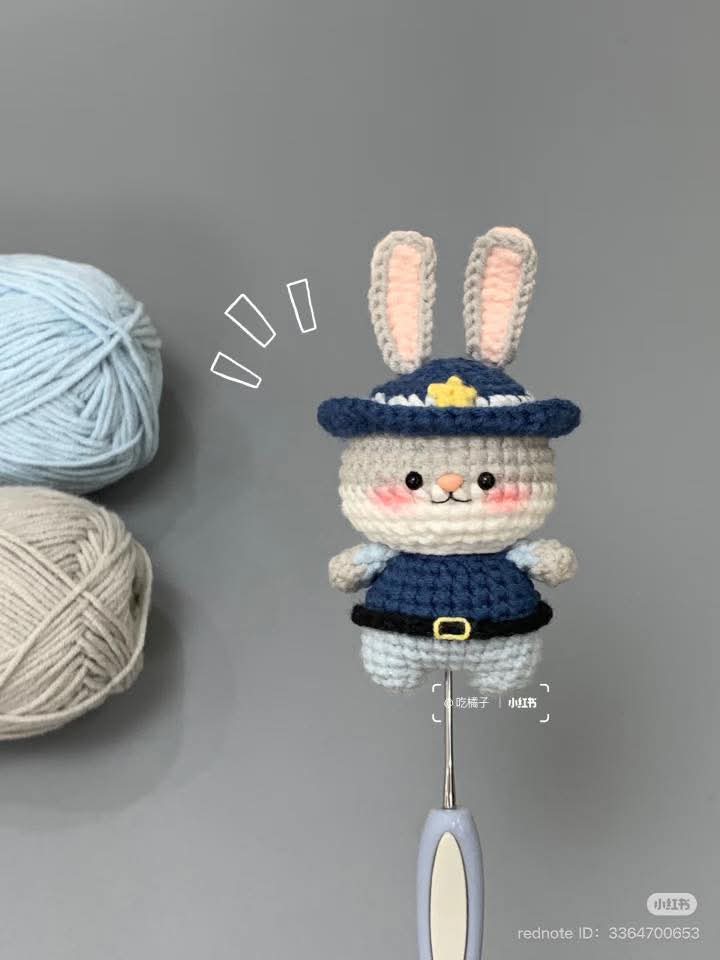
🎀 Conclusion
Your crochet Judy - The Police Bunny is now ready to stand proud! This chubby-cheeked cutie is perfect for themed gifts, keychains, or display pieces. You can even personalize it with different colors, a badge, or a name tag for added charm.
This pattern is a fun way to practice your amigurumi skills—from shaping the body and head to stitching on fine details like the belt and hat. Plus, it’s a great stash-buster project for leftover yarn!
If you enjoyed this pattern and would like to see more like it, please consider supporting us! You can follow us on Instagram, Pinterest, YouTube, or leave a small contribution through Ko-fi. Every follow, like, or share helps us continue creating free patterns and tutorials for the crochet community. 💕
💌 Credits & Notes
Original design and notes by @吃橘子 via 小红书 (Xiaohongshu).
English pattern conversion and formatting by Cozy Crochet Tales.
This pattern is for personal use only. Do not reproduce or sell the pattern. If you post your creation online, please credit the designer and link back to this blog!
📸 Share Your Bunny!
We’d love to see your version! Tag @cozycrochettales on Instagram or use the hashtag #CozyJudyThePoliceBunny so we can admire your creation. 🐰💙
Comments
Post a Comment