Nick the Fox – A Dapper Amigurumi Friend 🦊
✨ Introduction
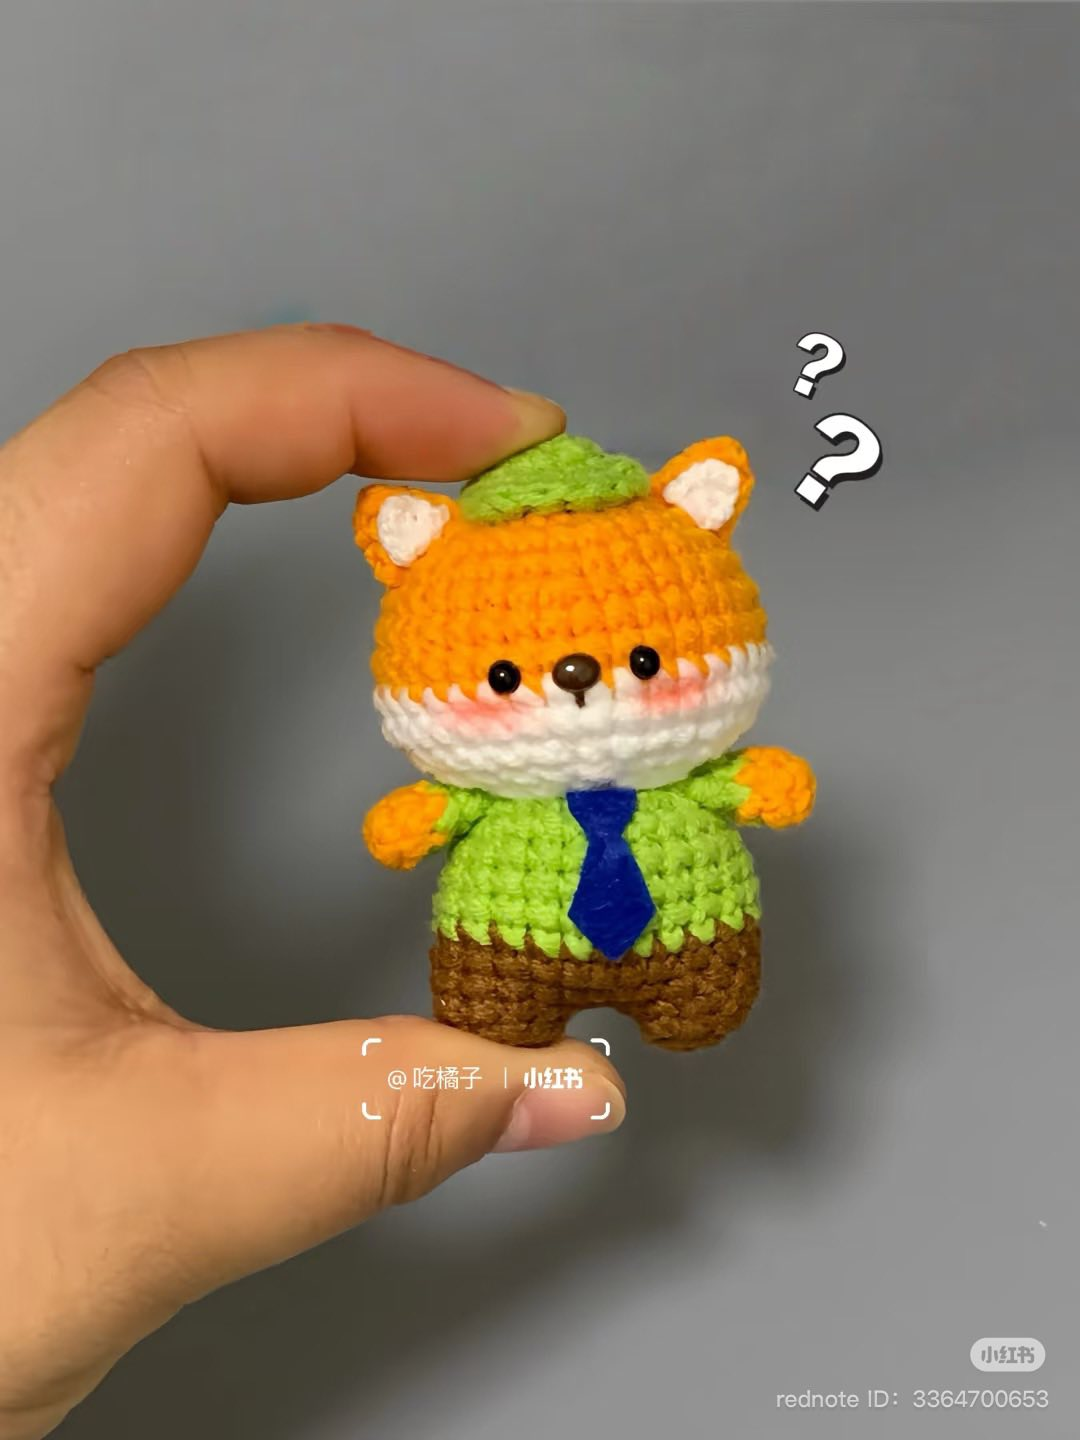
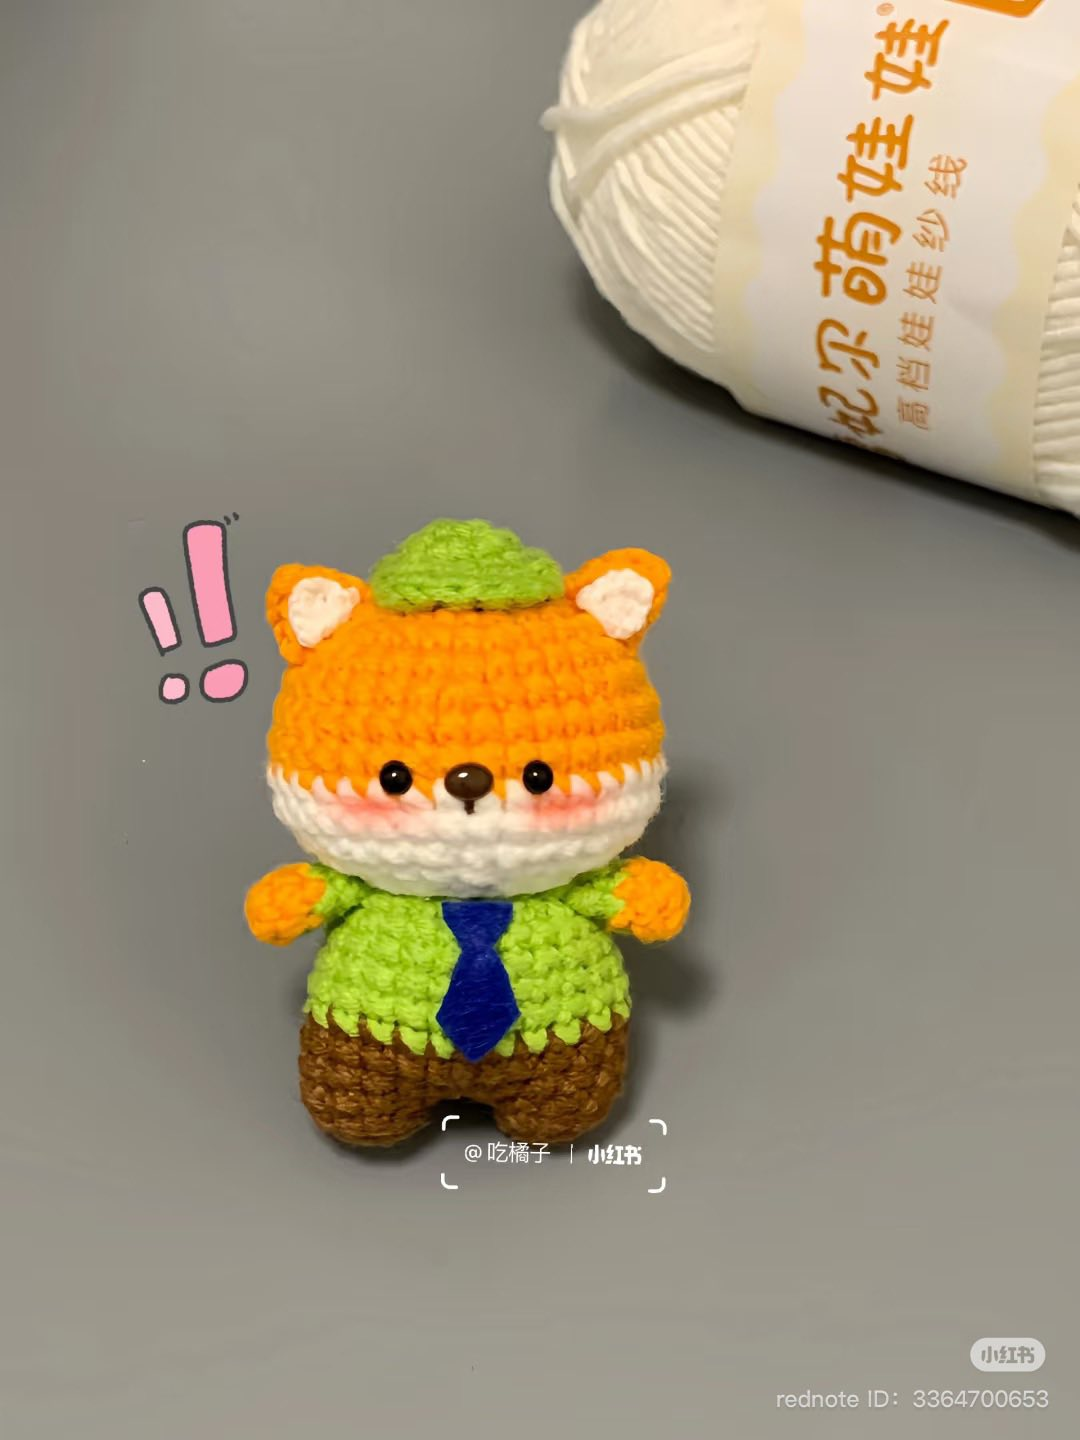
Welcome, fellow makers and yarn-lovers! Whether you’re a seasoned crocheter or a curious beginner looking to try your hand at amigurumi, this project is sure to capture your heart. Today, I’m sharing a delightful pattern to create Nick the Fox, a stylish and adorable character dressed in a green shirt, brown pants, and a neat little tie. He even wears a cute green cap! 😍
Nick isn’t just a fox—he’s got personality. With blushing cheeks, shiny little eyes, and an outfit that says “ready for business,” he makes a perfect desk companion, handmade gift, or a collectible for your own amigurumi shelf. And the best part? You don’t need to be an expert to make him! This pattern is written clearly using US crochet terms, with step-by-step instructions that walk you through everything from his head to his tiny accessories.
We believe in accessible crafting. That’s why this pattern is free to use, but we kindly ask that if you enjoy our content, consider leaving a comment, sharing your creations, or even supporting us through a small donation—details at the end of the post. Let’s jump into the pattern!
🧵 Materials You’ll Need:
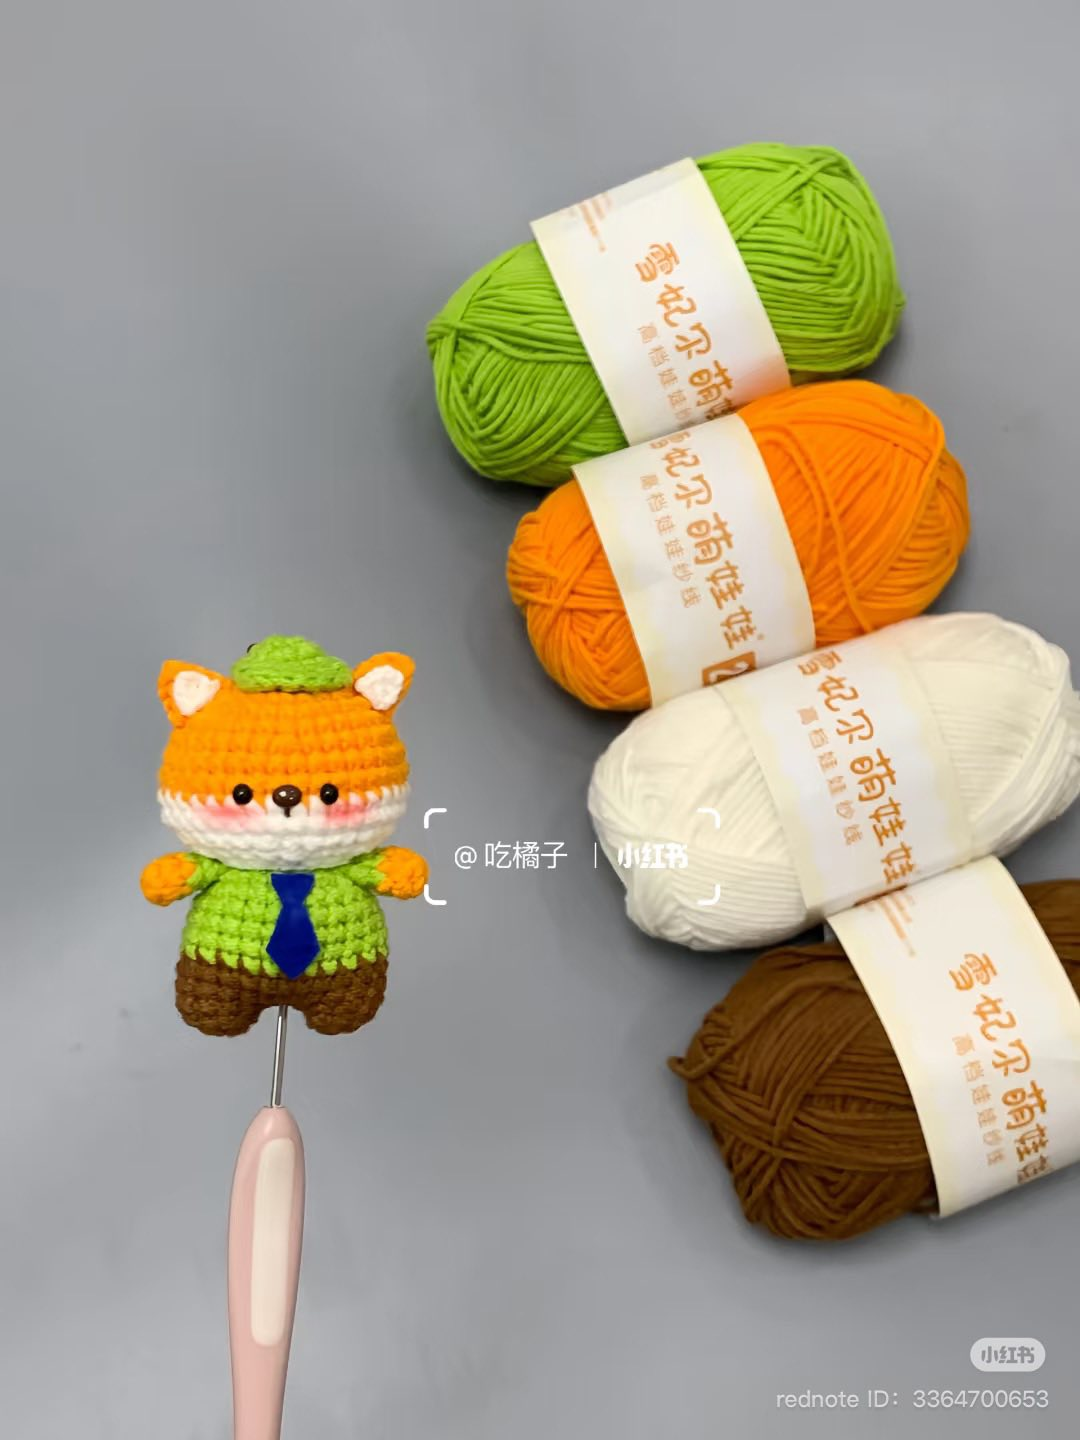
Yarn:
Orange (for head and outer ears)
White (for face and inner ears)
Green (for shirt and hat)
Brown (for pants)
Blue (for tie)
Crochet hook (2.0 mm – 3.0 mm recommended for tight stitches)
6 mm safety eyes
Stuffing
Yarn needle for sewing
Stitch marker
Optional: Felt (for the tie), blush or pink yarn for cheeks
🪡 Abbreviations (US Terms)
MR: Magic Ring
sc: Single Crochet
inc: Increase (2 sc in 1 st)
dec: Decrease (sc 2 together)
ch: Chain
sl st: Slip Stitch
x: Times (repeat count)
🔸 Pattern Instructions
🧡 Head (Orange + White)
R1: MR, 6 sc (6)
R2: inc x 6 (12)
R3: (sc, inc) x 6 (18)
R4: (2 sc, inc) x 6 (24)
R5: (3 sc, inc) x 6 (30)
R6: (4 sc, inc) x 6 (36)
R7–R9: sc around (36)
R10: (4 sc, dec) x 6 (30)
R11: (3 sc, dec) x 6 (24)
R12: (2 sc, dec) x 6 (18)
R13: (sc, dec) x 6 (12)
R14: dec x 6 (6)
Stuff firmly and fasten off.
👕 Body (Brown → Green)
R1: MR, 6 sc (6)
R2: inc x 6 (12)
R3: (sc, inc) x 6 (18)
R4: (2 sc, inc) x 6 (24)
R5: (3 sc, inc) x 6 (30)
R6–R7: sc around (30)
Change to green yarn
R8–R9: sc around (30)
R10: (3 sc, dec) x 6 (24)
R11: (2 sc, dec) x 6 (18)
R12: (sc, dec) x 6 (12)
R13: dec x 6 (6)Stuff and fasten off.
✋ Arms (Make 2)
With orange: R1: MR, 6 sc
R2–R3: sc around
Switch to green:
R4–R5: sc around
Fasten off, stuff lightly, and leave a tail for sewing.
🦊 Ears (Make 2 Outer + 2 Inner)
Outer (Orange):
ch 4, sc in 2nd ch from hook, hdc, dc (1 row)
Inner (White):
ch 4, sc in 2nd ch from hook, hdc, dcSew inner onto outer and attach to head.
🎩 Hat (Green)
R1: MR, 6 sc (6)
R2: (sc, inc) x 3 (9)
R3: (2 sc, inc) x 3 (12)
R4: (3 sc, inc) x 3 (15)
R5: sc around (15)👔 Tie (Blue Felt or Yarn)
Cut a small triangle and strip of blue felt, or crochet a small piece using blue yarn. Sew or glue onto the center of the shirt.
🧷 Assembly Instructions
Attach the head to the body using a whip stitch.
Sew arms to the sides of the body.
Attach ears to top of the head.
Sew on the green hat.
Insert safety eyes between rounds 7 and 8 of the head (about 7 stitches apart).
Embroider or glue nose and add blush.
Secure the tie.
💬 Questions or Help?
If you're stuck on any part of the pattern or want help translating stitches, feel free to drop a comment below! I check comments regularly and am always happy to help fellow makers 🧡
🙏 Support Our Work
Creating free patterns, translating notes, and sharing detailed instructions takes time and care. If you found this pattern helpful or inspiring, please consider:
Leaving a comment – It really motivates us!
Sharing this post on social media or with friends
Donating a small amount to help keep our content free – [Support Us]
Even $1 helps us buy yarn and continue making beautiful things to share with you.
💌 Conclusion
Nick the Fox is more than just a crochet pattern—he’s a symbol of the joy handmade crafts can bring. Each stitch carries a bit of your love, creativity, and time. Whether you make Nick for yourself or gift him to someone special, know that you’re spreading warmth and happiness with your hands. ❤️
We hope this project brought you as much joy as it brought us writing and preparing it. Stay creative, stay cozy, and don’t forget to show us your finished projects! Use the hashtag #NickTheFox and tag us on Instagram or Pinterest so we can admire your work.
Happy crocheting, and thank you for being here. Until next time, keep stitching your magic!
📸 Credit
Original design and notes by @吃橘子 on 小红书 (Xiaohongshu)
Translation and pattern write-up by Cozy Crochet Tales
Comments
Post a Comment